
As 72% of customers prefer email as their primary channel for communication, having a good email marketing strategy is sound. But effective communication begins by making your customers feel as though they are special — that you are talking personally to them and not through an automated message. Doing that manually can be challenging, which is why Mail Merge for Gmail exists.
Email Marketing is essential for any eCommerce or Marketing Strategy.
There are plenty of Email Marketing Tools out there, and even Wix uses such tools! But for this article, we’ll be focusing on Mail Merge. So, here’s everything you need to know.
What is Gmail Mail Merge?
Email Marketing Specialists know well to use Mail Merge for Gmail. This plug-in allows you to create and send mass personalized email messages you can use to grow your business. With a unified inbox, it makes outreach easier than ever.
With this feature, you can create multiple copies of letters and emails to send to your contacts. Thus, each letter or email you send can include standard and custom personalized content. So any information you use to customize each letter or email sent is taken from your data sources like a contact list.
Mail Merge is one of the best Email Automation Tools to use, only better. Additionally, the tool’s user interface is well designed, making it easy for anyone — even those unfamiliar with HTML coding — to use Merge Mail effectively.
However, there’s no built-in merge feature if you use Gmail as your primary client. However, there are add-ons available for Google Spreads. Below is how to use Mail Merge for Gmail with Attachments to save time and effort.
How to Use Gmail Merge Mail?
To get started, you need to own a Gmail account. Still, it’s relatively easy to set up an account. So if you haven’t got one yet, create an account you can use for this business venture. After doing so, just follow these steps:
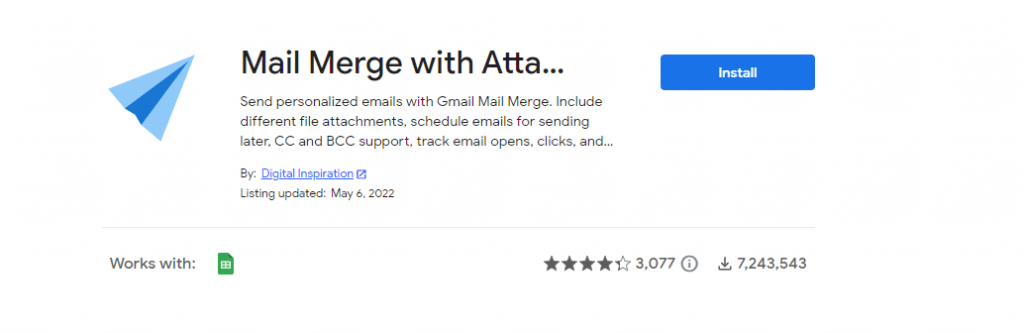
Step 1: Install the Plugin/Add-On
Install the program. You can either add it to your own Google Account or install it for all users in your G Suite domain.
Step 2: Get Ready to Install
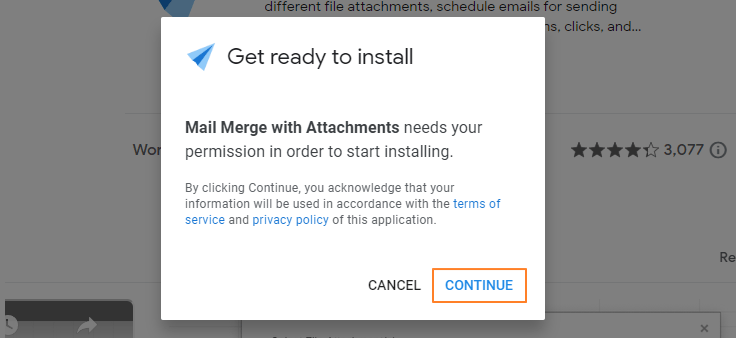
Click continue and proceed with installation by reviewing the information you share with Mail Merge. Here are all the permissions required by the add-on. To give the add-on access to your Gmail account, click Allow.

After that, a dialogue box will open, informing you that you have successfully installed the Gmail Mail Merge add-on.

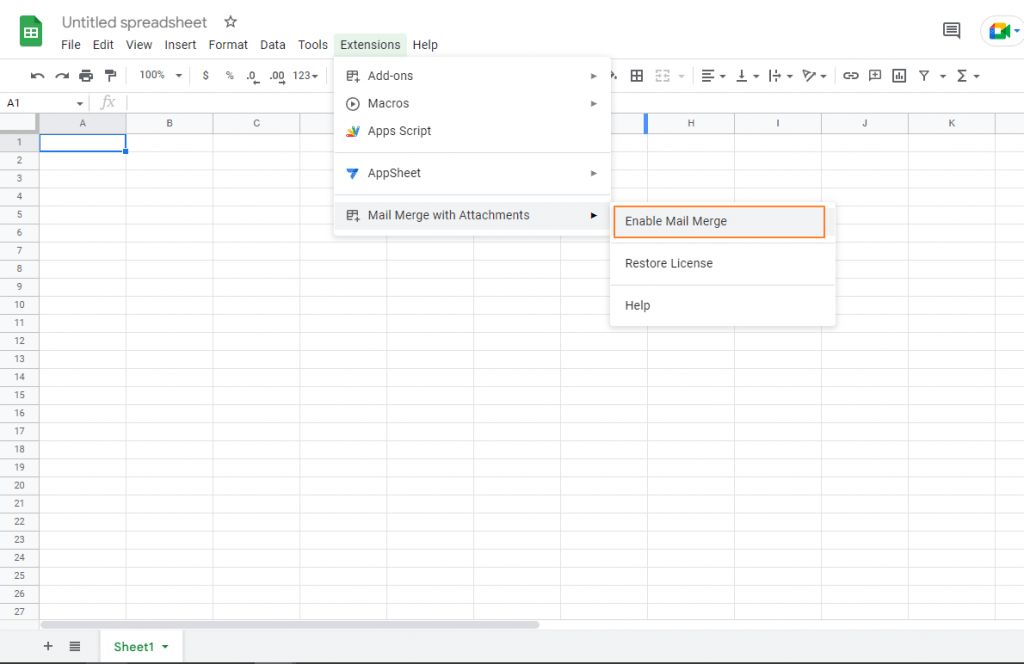
Step 3: Go to your Google Spreadsheet Account
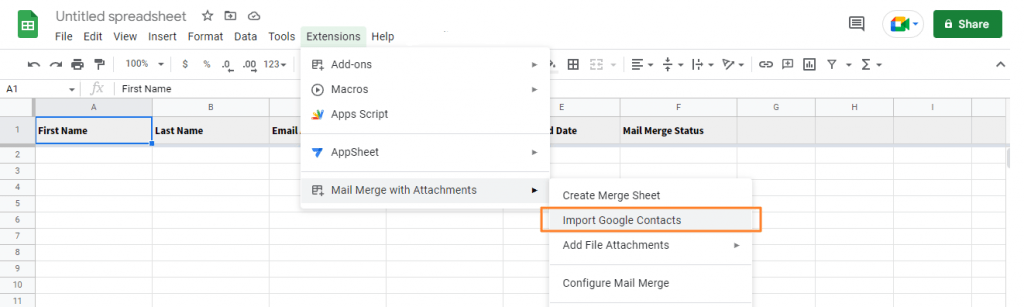
Open a new Untitled Spreadsheet on Google Sheets, go to your Extensions > Mail Merge with Attachments, and make sure you enable it.
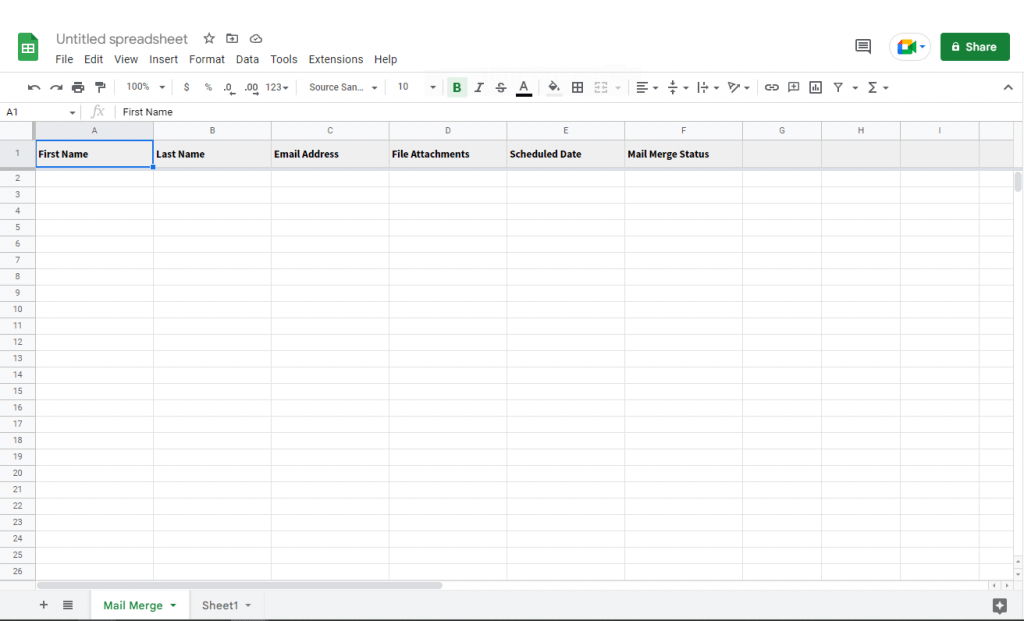
Step 4: Create the merge template
To create the merge template, go to Extensions > Mail Merge with Attachments again and click Create Merge Sheet. This will open up a blank merge template with the mandatory columns like First Name, Last Name, Email Address, etc.
Step 5: Import or Enter your Contacts
Importing contacts is the quickest way to add them to your spreadsheet. But you can also enter the contact information manually.
If you already have a group of recipients you want to send batch emails to, you can easily create groups in your Google Contacts.
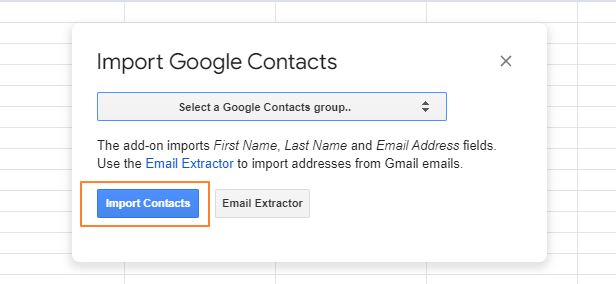
Select the group you’d like to send an email to, and click Import Contacts.
CUSTOMIZING YOUR EMAILS
Step 6: Adding Attachments to your Emails
You can send attachments to your email by attaching files to the emails. To begin, open a new tab and sign in to Google Drive. Then, attach your files to the email by uploading them.
So, you can upload the file by dragging it into the browser window.
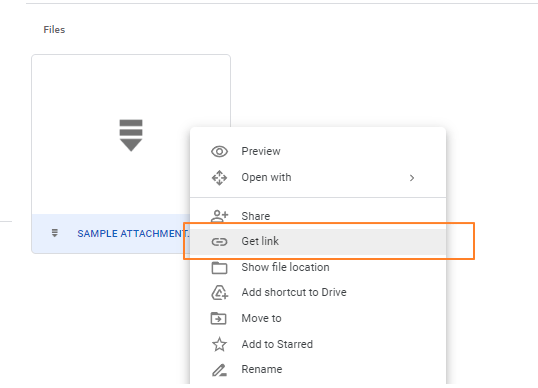
Once you have the file, click Get link, check the general access, and change it from restricted to Anyone with the link.

Next, you should copy and paste the link on your File Attachments to the contact with whom you’d like to share this attachment. As a result, you can send different files to each of your contacts.

You can also include as many file attachments as possible, separated by commas. And that’s it! You’ve successfully linked an attachment to your Mail Merge Contact List.
After that, the next thing that you can do then is to:
Step 7: Schedule the Time and Date
For this step, you can specify a date and time for an email in the Scheduled Data column, which can be different for each person. Next, enter the chosen date and time in the Scheduled Date column for the desired contact to schedule an email.
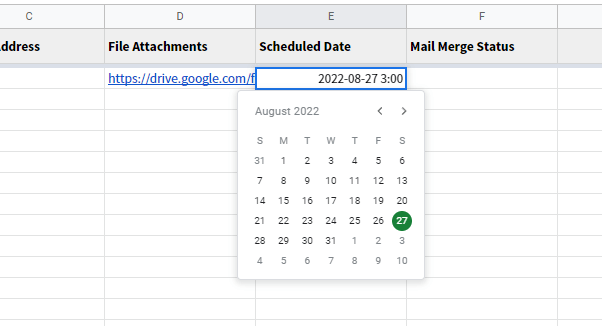
So if you want the emails to go out immediately, you can leave the Scheduled Date blank.
Add Customized Content
Step 8 (Optional): Add Customized Content to your Merge List
You can further customize your Merge Mail List by adding customized content aside from the standard fields. For example, you can add information like their membership numbers or their respective titles.
To do this, all you need to do is add a column to your spreadsheet. You can select between adding a column to your left or right at your discretion.
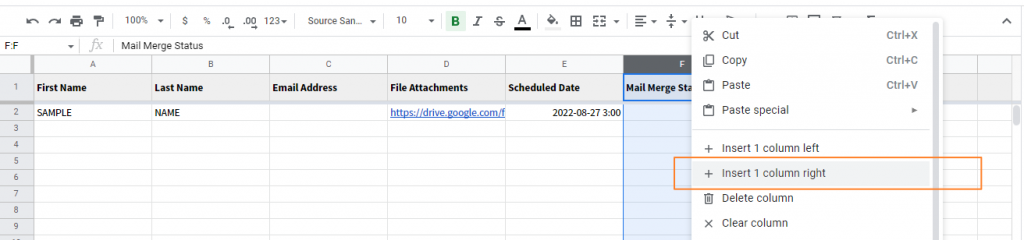
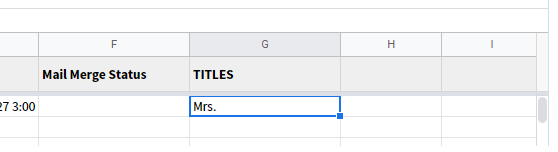
For this example, we’ll just add their respective Titles (Either “Mr.”, “Mrs.” Etc.) and add the value for each of the contacts.
Step 9: Create your Email Draft
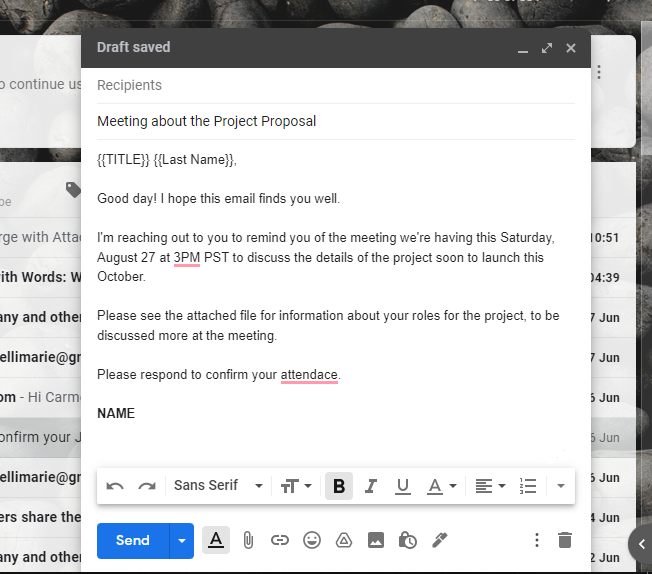
To send an email, create a new one for that particular contact. Afterward, fill in the subject and body of your message. You can add rich text formatting and images inline as well.
By inserting the {{ field name }} notation into a variable field (e.g., Title and Last Name), you can use that variable field in your email. For example, you can add the Title and Last Name to your email.
You don’t need to add this variable field to the mail merge spreadsheet if you’ve added file attachment URLs to it. They will automatically be included in the emails.
After that, don’t click send just yet.
Step 10: Configure your Mail Merge
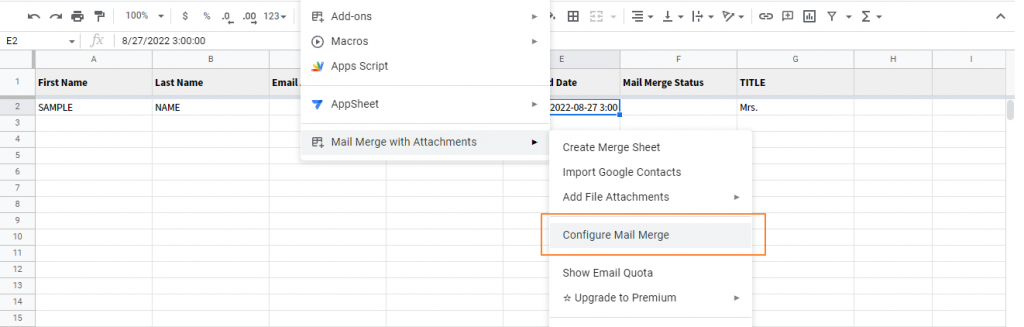
Go back to your Mail Merge on the Spreadsheet, Extensions > Mail Merge with Attachments, and click Configure Mail Merge.
Enter the sender’s email address and any CC and BCC addresses.
But if the Sender’s Email Address and the one you logged in to are different, select it from the drop-down list. The logged-in email address will be used as Reply-to Address, but you can change that too.
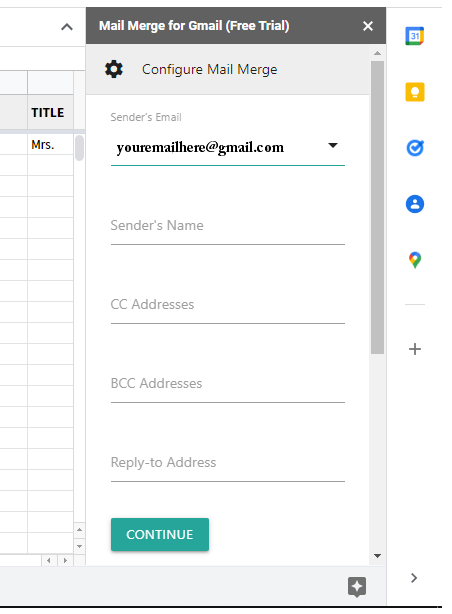
Click Continue, which will then lead you to create your email template.
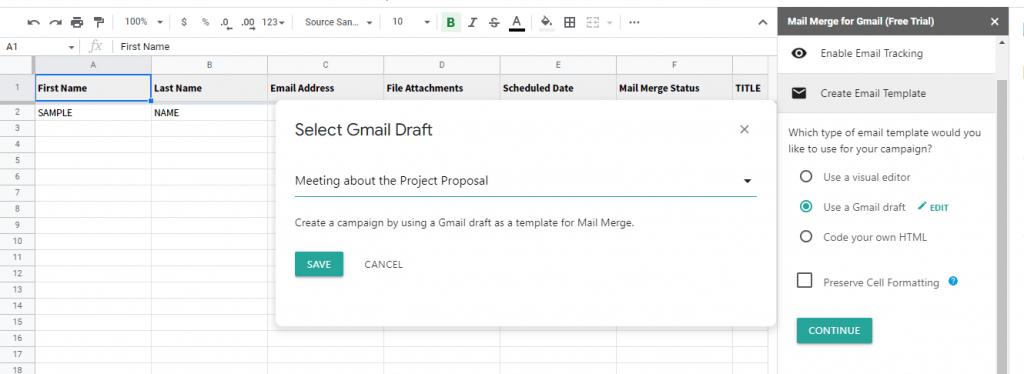
Step 11: Creating Email Templates
To fill in the message box, you can easily select the message you’ve drafted by choosing Use a Gmail Draft and selecting the message from the drop-down menu.
Step 12: Run a test Email
Before sending out your email campaign, test out it by clicking continue after creating your email template.
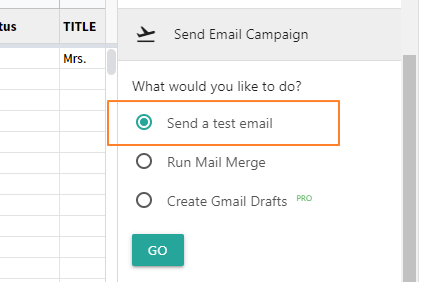
Select Send a test email, which sends a message to the account you signed in to make the Gmail Mail Merge.
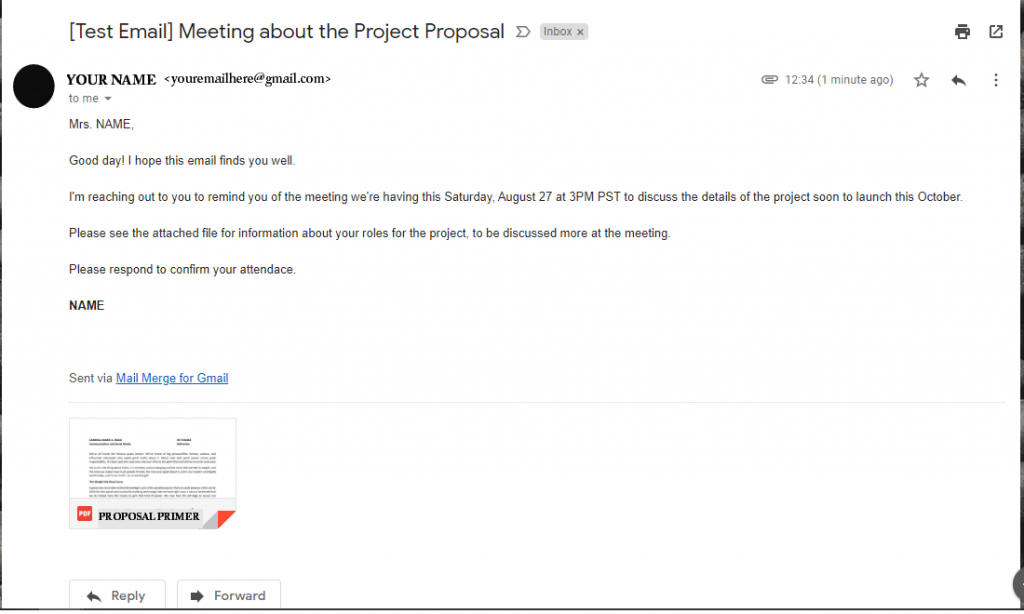
Once you’ve ensured that every detail is correct, you can begin sending out the emails to your contact list.
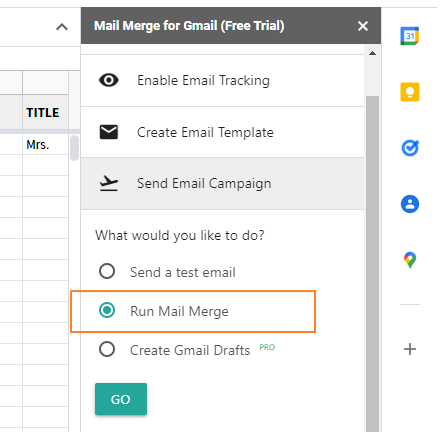
FINAL STEP: Run your Mail Merge
To do this, you can go back to your Mail Merge Spreadsheet and select Run Mail Merge. So this will automatically send your email to each email recipient you’ve input in the Mail Merge without you manually inputting all the necessary details.
Remember: Rename your Spreadsheet so that you can easily find it whenever you need it.
The free subscription with the Mail Merge allows you to send 20 recipients per day. But you can easily subscribe and upgrade to their premium subscription.
The pricing starts at $39, which gives the following benefits:
- Email sending limit from 20 to 25-400 recipients per day;
- Remove Sent by Mail Merge branding on the emails, and make them more personalized to you;
- Track emails, link clicks, unsubscribes, and many more!
After setting your Mail Merge for Gmail, sending out your email campaigns is easier than ever!
FINAL THOUGHTS
With Gmail Mail Merge, you can send personalized mass emails from your Gmail in just a few clicks. This also helps lower your Email Bounce Rates and keep them as low as possible. So, go ahead and try out Mail Merge for Gmail today!
It’s free to install, and you’ll be able to send up to 20 merge emails each month without spending money.
If you find yourself sending mass emails more often, it might be best to consider upgrading. Thus, you can have unlimited access to the tool and its features.